To repair clothing that has small holes, tears, or stains that cannot be washed out, direct mending is an option. But that’s rarely really beautiful. There are several ways to mend them craftily with embroidery. If you would like to learn how to embroider over a hole, we have three methods we are going to show you.
The following three repair techniques are used to repair or cover damaged areas with interesting shapes, eye-catching patches, and bright colors. Torn clothes will then be more beautiful than before!
However, the needle used depends on the damaged fabric. Loose fabrics can be repaired well with a slightly thicker needle; for tightly woven fabrics, a thinner needle is the better choice. Jersey is best embroidered with a blunt needle.
Quickly, we’ll see the three methods of embroidering holes and some ideas to try.
 To plug a hole by hand, you only need two things: a needle and thread. There are special darning needles, but you can also use a simple sewing needle. You can try getting a complete pack of embroidery items. One of the most recommended by craft makers is the Madeira Incredible Threadable Embroidery Box. This box contains spools, threads, and embroidery thread guides.
To make the knot, wrap the thread crossed around your finger and twist it off with your thumb.
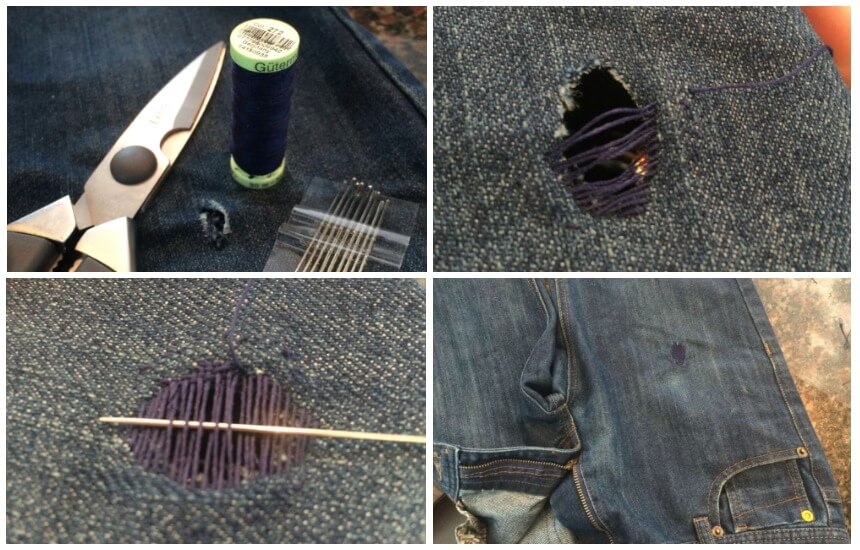
First, make a sturdy knot in the thread. To do this, you can wrap the thread once around your index finger so that the thread is crossed. Now rub over it with your thumb and twist the thread off in a twist to tighten it. This creates a slightly thicker knot that does not slip through the fabric.
Cut long, frayed threads along the edge of the hole so they don’t interfere as you stitch.
When you have threaded the other end of the thread into the needle, you will stitch on the wrong side of the fabric next to the hole. The area around the hole is sometimes a little thinner, especially with socks. Then pierce a little further from the hole, where the fabric is even more stable so that the fabric does not tear.
According to most reviews, one of the best needle packs to use is the Piecemakers Embroidery 5/10 Assorted Needles. Recommended for embroidery, the needles have clean eyes and are sturdy and strong.
Now you keep sewing over the hole so that the thread draws almost parallel lines over the hole and the opposite sides of the hole are connected. If possible, pull the thread through loose stitches in the fabric. This will prevent the fabric from coming off again after darning. It will also help you find out how tight you need to put the stitches so that the patched area is as tight as the original fabric.
Finally, you lead the needle from one of the sides that are not yet connected to the other – you always weave alternately over and under one of the threads that are already parallel. Once you have reached one side of the hole, sew through the fabric once. This creates a new layer of fabric that covers the hole.
Now you’re almost there: you sew the thread so that the hole doesn’t open again. To do this, insert the needle into the fabric again, so that a small loop is created. Pass the thread through this twice and pull it tight so that a thin double knot is created. Now you can wear your garment again.
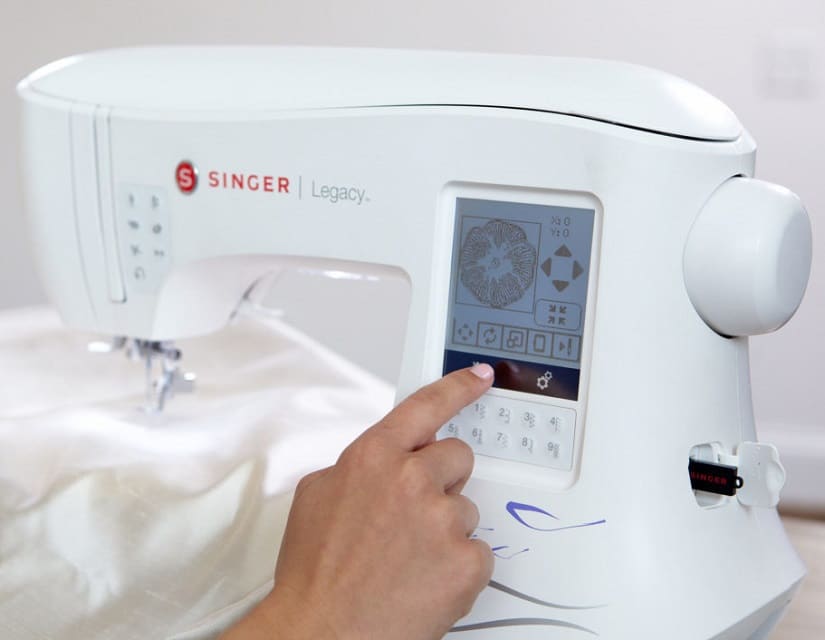
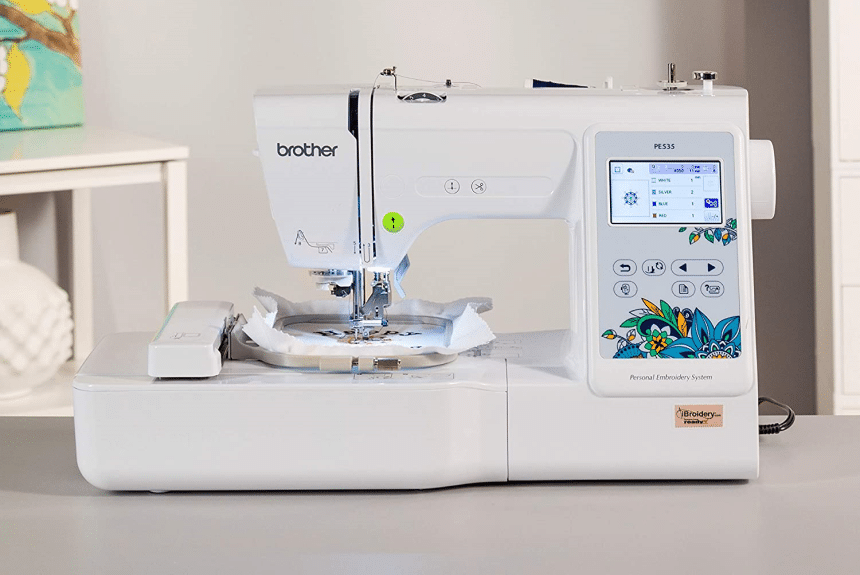
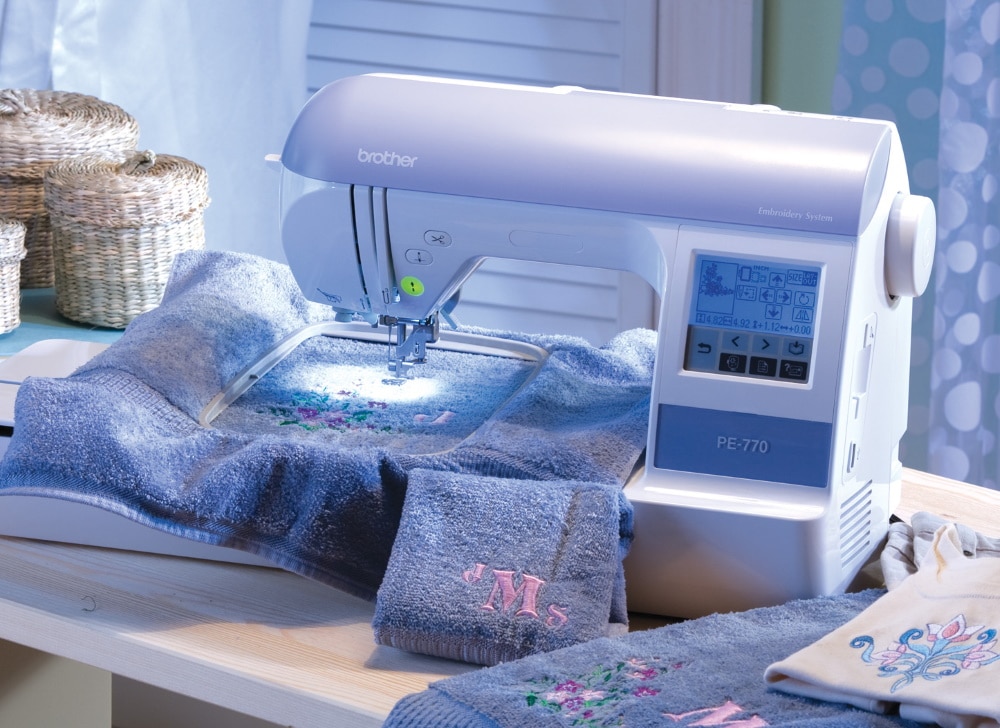
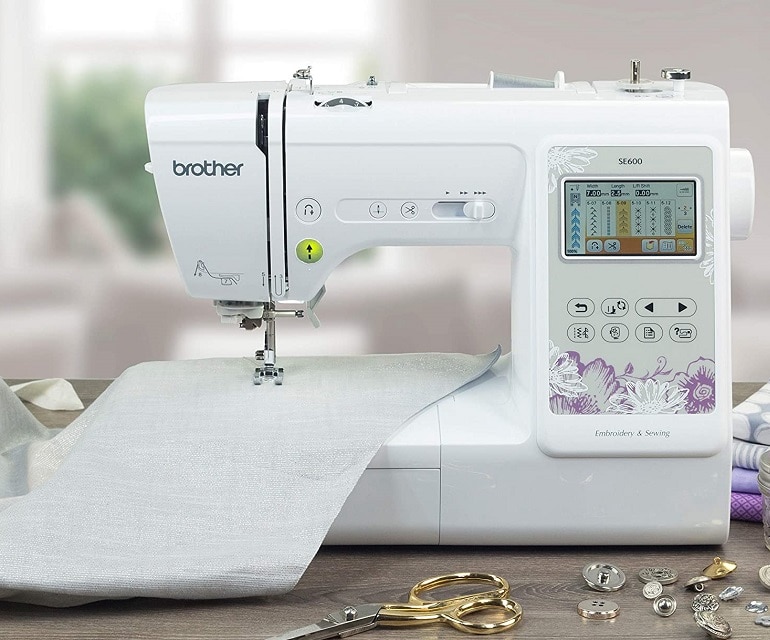
 For perfect embroidering, we recommend having an embroidery machine, scissors, thread, and stabilizer. We prefer a stick-n-washaway stabilizer but you can use another type if your fabric cannot get wet. You’ll also need your damaged fabric.
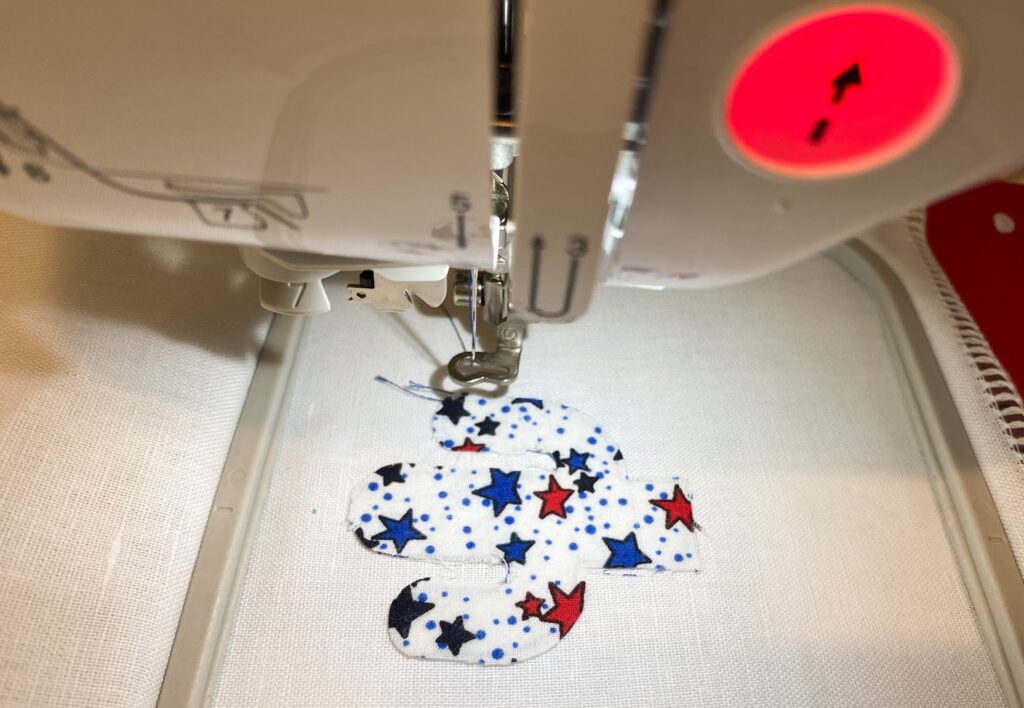
Please note, this technique works best on woven (non-stretchy) fabrics. And if you’re repairing a hole, you’ll need some additional similar weight fabric.
First, use your scissors to trim the area around the damaged section. Trim away any loose threads or frayed areas.
Cut a piece of fabric from your repair fabric that’s larger than the hole. With the damaged fabric wrong side up, place your repair fabric over the hole also the wrong side up. If you were to flip the fabric to the right side, the right side of the repair fabric should be showing through.
Cut a piece of your stabilizer that’s larger than the repair fabric. With a sticky stabilizer, you can simply stick it to the fabric and it should hold everything in place. If you’re using a non-sticky stabilizer, you can pin it in place or hold it. The stabilizer will keep your fabric flat and prevent puckering while sewing.
At your machine, you’ll want to use a standard straight stitch with a stitch length of either 2 or 2.5. You can use either an all-purpose thread for most fabrics or a fine-weight thread for more delicate fabrics. You can also use a standard sewing machine foot.
Place the right side of the fabric under the foot and place the machine needle down in the fabric just outside the damaged area.
Sew the stitches a little outside the hole or damaged area where the fibers of the fabric are still intact. Sew a straight stitch you are just past your damaged area.
Next, you can do a reverse stitch to go back to where you started. Ideally, you want your stitches to be right next to each other. But if it is hard to do with the reverse, then it’s alright to go right on top.
To repair a hole in clothes without going through the seam, you can do what is called iron-on applique or iron-on patching.
Once the materials are gathered, here is how to proceed:
At first, the holes in the clothes appear as small, almost invisible dots. With time and successive washes, they become more and more important. When the holes are caused by nails or rubbing, they are easier to detect.
2. Cut the threads
Sometimes long threads protrude over the damaged part. It is advisable to eliminate them and avoid pulling them by hand. This may damage the cloth further. They should be cut with sharp scissors.
3. Prepare the hole
Place a piece of fabric or a handkerchief under the hole on the inside of the fabric. This prevents the part from sticking to the back. Then press the fabric near the hole. The goal is to get the fabric to cover the hole. Be careful, exerting too much pressure may puncture the hole more.
4. Place your patch
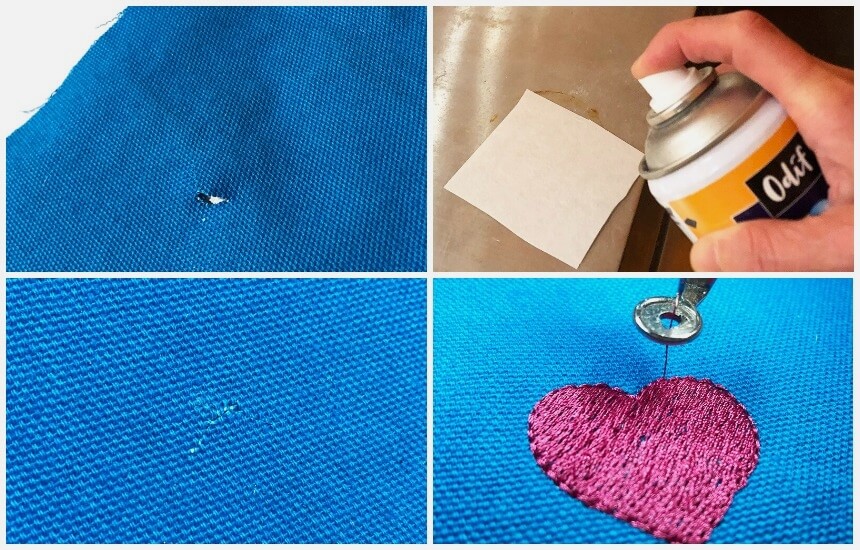
 Then, place an iron-on patch over the hole, placing the shiny side underneath. It must be able to cover it completely. Lightly spray the area to be repaired. A single spritz is enough.
Most embroiderers recommend the Eversewn ES-QTA Embroidery Temporary Spray. It comes in an 11 oz can and for a good price.
5. Preheat the iron
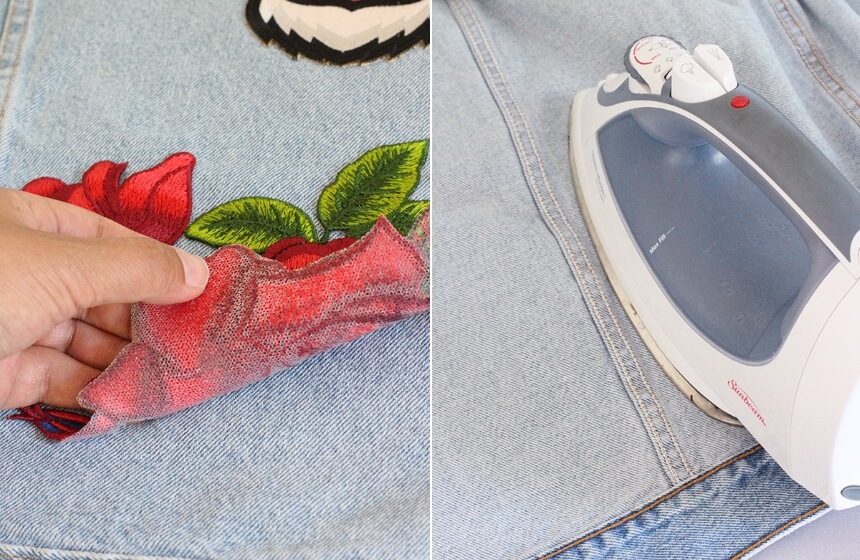
Adjust the temperature according to the instructions on the packaging of the iron-on patch. Also, check the instructions. The maximum temperature indicated on the garment must not be exceeded under any circumstances.
Iron the piece, making sure it is properly secured. Usually, 15 to 30 seconds are enough for it to adhere to the shirt. Once ironed, the piece must fit the fabric.
6. Remove the patch
Turn the shirt over to remove the fabric under the hole. It should be removed delicately. If it comes off easily, it can be torn off completely. Otherwise, it is better to cut out the peelable part and leave the rest as it is.
There are several ideas for hiding a hole. Some of these include:
Tip: To get more embroidery ideas, you can get an embroidery book.
Wearing a t-shirt with holes can make you look sloppy. Some throw the torn clothes away. However, with a little know-how, it is possible to fix them. As we have seen, if you want to know how to embroider over a hole, there are three methods. For those who do not want or do not know how to handle threads and needles, there is a simple technique. This consists of using iron-on patches. Those who love the grandmother method can try embroidering by hand. And for the budding and experienced seamstresses who have and know how to use an embroidery machine, machine embroidery is an option. We hope you enjoyed this tutorial.