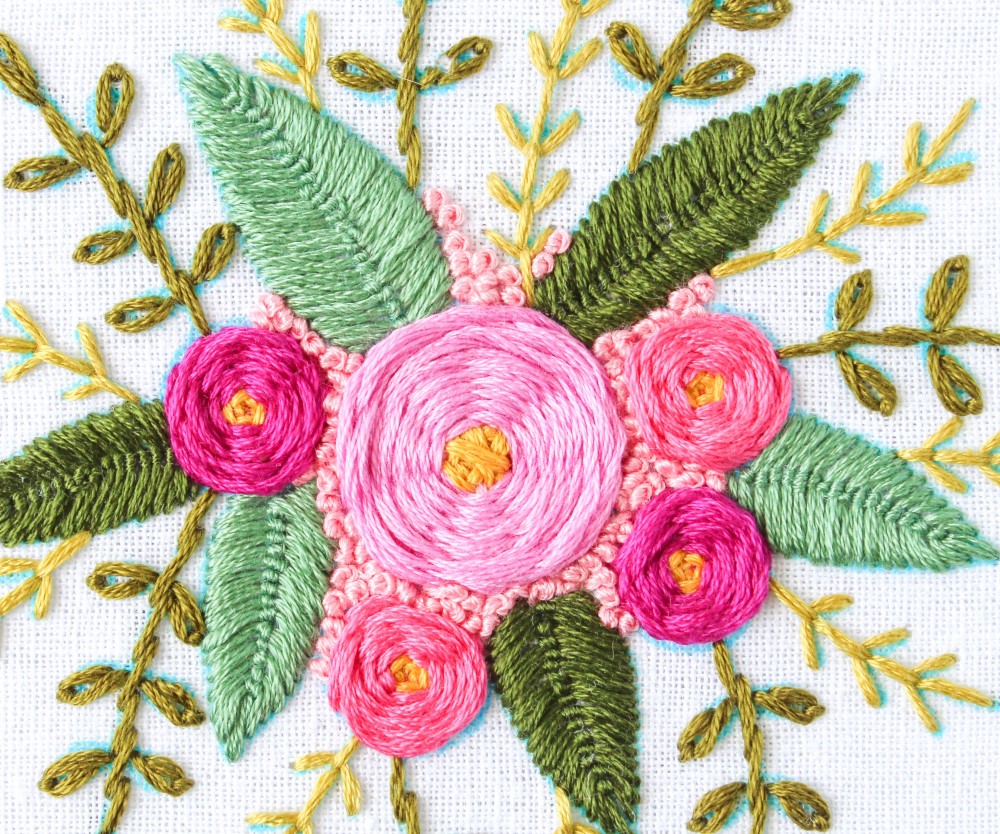
Congratulations! You’ve designed and created a masterful piece of embroidery. Now it’s time to display it. Unless you’ve embroidered directly onto a cushion or piece of clothing, the next step is to understand how to frame embroidery.
There are two methods, involving either a hoop or a frame. While smaller pieces are perfect for hoops, larger pieces will benefit from the stability of picture frames and backings. We’ll help you get your finished project up an on your wall so you can dazzle all your visitors with your talent.
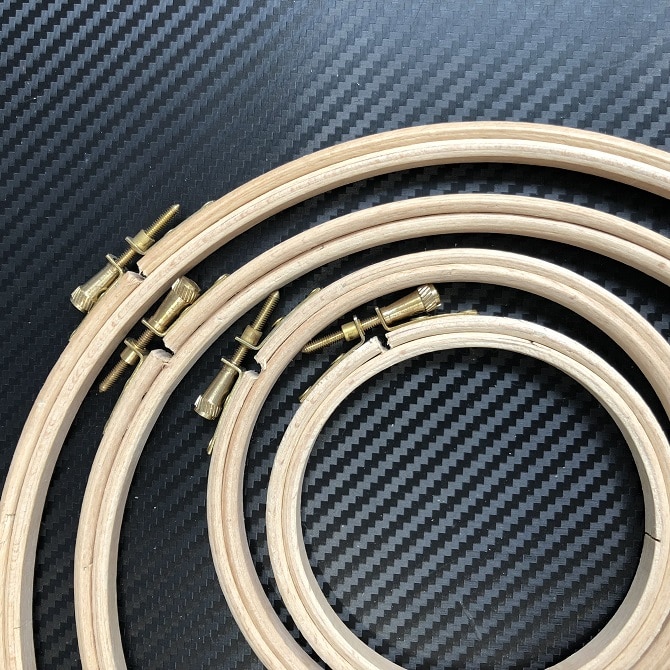
 Embroidery hoop (appropriate size)
If you go to any sewing shop, whether in-person or online, there will be a section dedicated to embroidery hoops. They come in many different sizes and while there can be fun shapes, most are circular in nature.
The key to selecting an embroidery hoop is to consider both size and shape. You should always measure your finished embroidery first to know how big of a space you will need inside the hoop. You want it to fit but not be too crowded.
For example, if you have a design that measures about 4 x 4 inches, then a hoop that measures 5 x 5 inches will work best. Furthermore, if you are purchasing a standard circular hoop, make sure the edges of your design are not obstructed.
Finally, think about what color you want your hoop to be. It should compliment the colors used in your embroidery thread. For example, if you have lighter thread colors, a darker hoop may make them pop more.
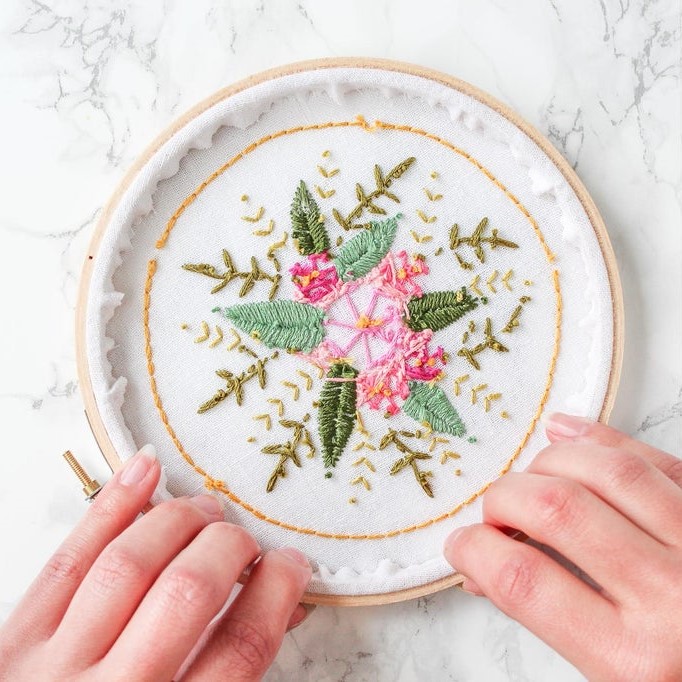
Once you have an embroidery hoop picked out, place the fabric between the two hoops. There will be a tiny screw to turn to pull the fabric taught.
You will be left with loose fabric around the edge. You have two choices to finish this off. For those short on time, take fabric scissors and cut around the edge, leaving the fabric to be about ¼ inch long.
For a tidier edge, you can actually finish the entire backing. For this you will need a piece of felt cut to the size of the hoop. Fold the embroidery fabric inside and place the felt on top. Then, take a needle and thread and stitch around the felt. This way you will have a clean backing and no worries about loose threads appearing.
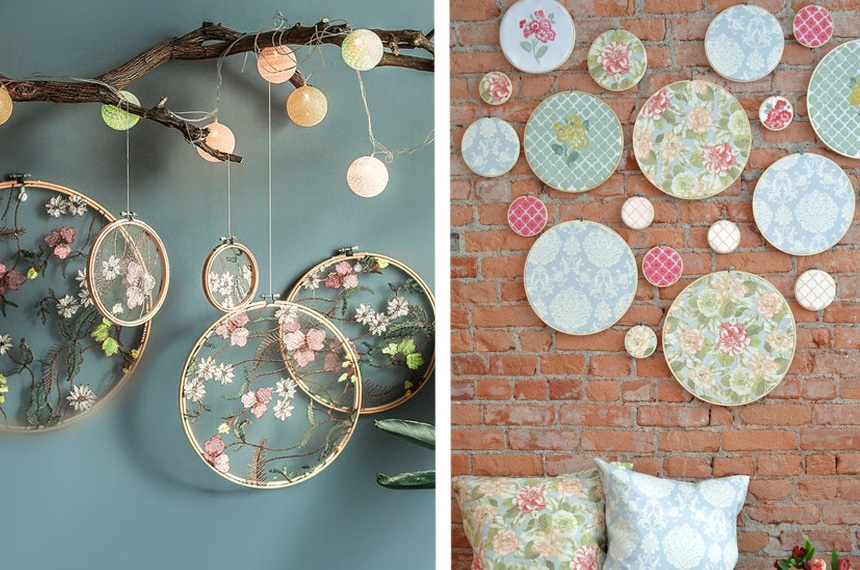
Now that your embroidery fabric is firmly in place, it’s time to hang the hoop. Unfortunately, most hoops won’t have a hook on them. However, you can simply purchase double sided tape. The hoop and fabric will be really lightweight, so they will stick just fine on the wall.
Depending on your hoop’s design, there almost might be enough space between the screw for a slim nail to go through.
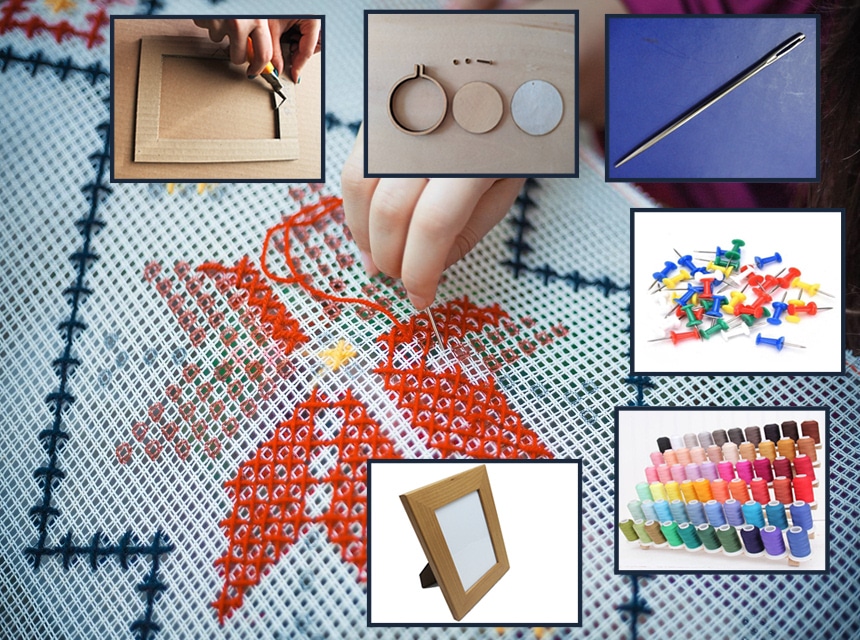
For those who love crafting and DIY projects, making an embroidery frame is the logical next step after finishing your embroidery. Start by measuring your design and then purchasing a frame slightly larger than that.
There are many inexpensive, versatile frames you can purchase, such as the Amazon Basics Photo Picture Frame. It comes in a black color and has three different sizes to choose from.
Take your embroidery and wrap it around a piece of cardboard, cut to fit snuggly inside the frame. This will give it the weight needed to lie flat.
Take some push pins and stick them through the fabric into the edges of the cardboard. This will hold the fabric in place so that you can then sew the back pieces of the fabric together.
Finally, place the embroidery into your frame. There should still be enough room to have the frame backing fit everything into place.
If you are worried about all the steps, there are actually kits available, such as the Mcorb Printed Embroidery DIY kit. It gives you the option of placing your embroidery in a hoop or a frame.
Your embroidery pattern will please the eyes wherever you hang or put it. Try to follow your daily routine while noting how often your eyes fall on various surfaces and empty walls. Truth is – they’d be the perfect spot for your embroidery frame.
By learning the place, you just need to put a nail in a wall and enjoy your masterpiece. Be sure to purchase a picture frame that already has a hook attached to it. This will make hanging your frame that much easier. Alternatively, you can also prop the picture frame on a ledge, against a wall.
Your hard work deserves to be seen. Whether you use a sewing machine to stitch your pattern, or simply pluck away at night, you should be proud of what you’ve accomplished. After you finish your embroidery, you can place it in a traditional embroidery hoop or find a suitable frame. Hoops are great for smaller embroideries and if you have a bunch, they look great as a collection on a wall. For those that have created larger embroideries, try using a picture frame. The cardboard used to wrap the fabric around will keep the picture looking neat and tidy. We hope we’ve properly explained how to frame embroidery for you so that you can properly show off your creativity!