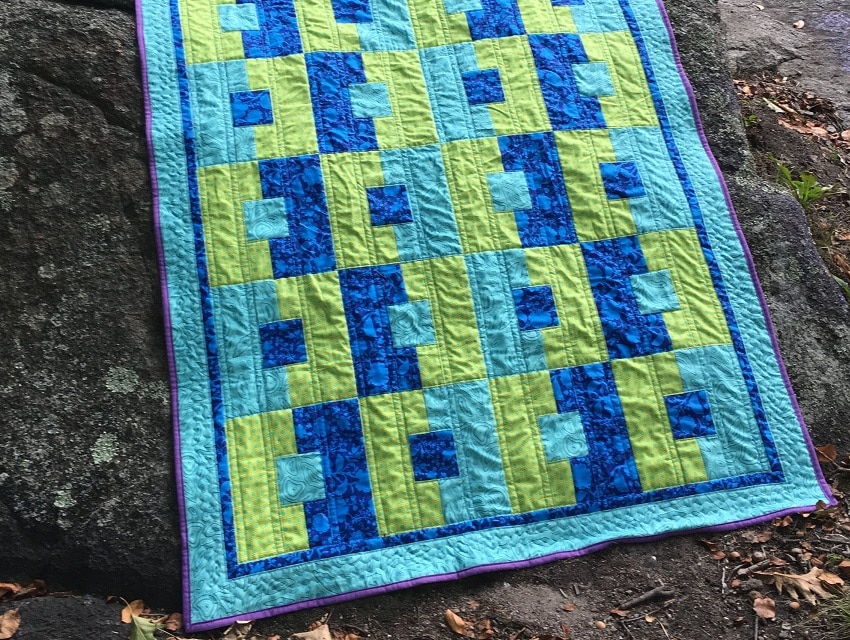
Pillows can be a fantastic addition to your home decor. Whether you want to create a feature in your bedroom or tie in the room color scheme to your sofa, a pillow can provide a touch of style.
However, if you shop at fancy home stores, you’ll notice that pillows and cushion covers can be expensive. So, if you’re not sure about a bold pattern or bright color, you may be reluctant to make the investment. Fortunately, you can save money and still create a great look if you make your own pillow covers.
In this article, we’ll explore how to make a pillow cover with zipper, so you can let your creative side run wild to transform your living space.
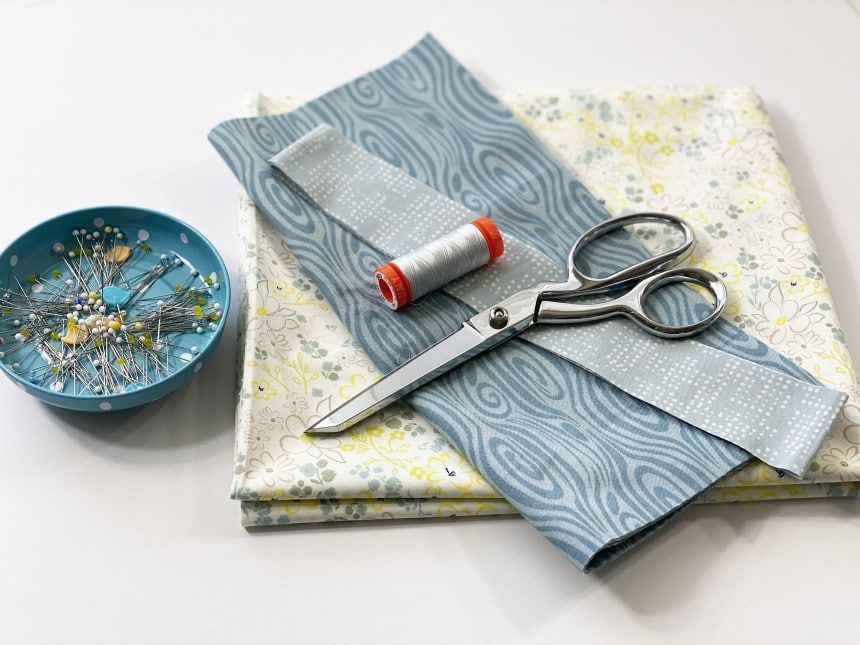 If you want to learn how to make a cushion cover with zip, you’ll need to gather a few tools and materials.
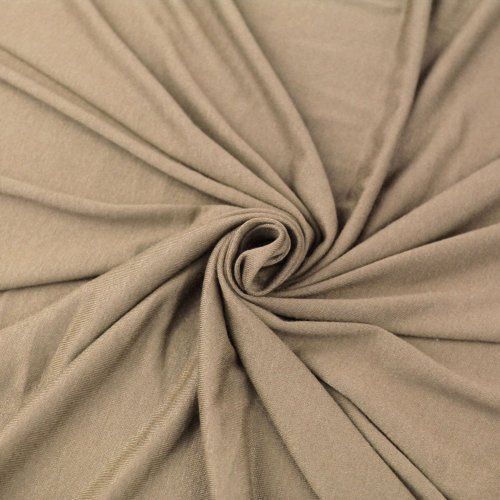
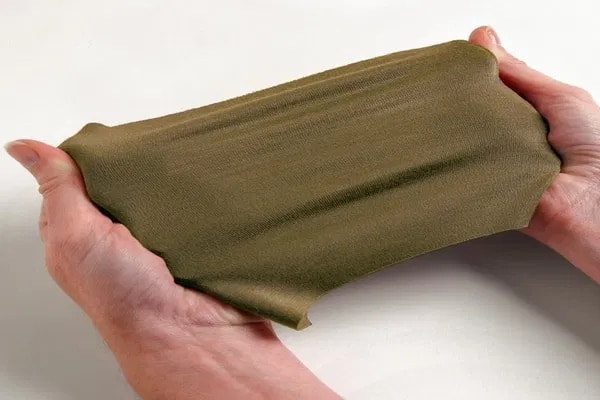
Fabric: First and foremost, you’ll need some fabric. The easiest fabric to use is cotton quilting or decorator fabric. While you may like the idea of a velvet or silk pillow, save these more expensive fabrics until you are more confident in your sewing skills.
Cushion Inserts: These inserts are readily available in furnishing or haberdashery stores. You can also purchase some cheap cushions at your local discount store; removing the unsightly covering to make your own pillows. The best couch size is 16 or 20 inch, but you may prefer smaller pillows.
Sewing Machine Feet: The sewing machines of any price range are supplied with a variety of feet, but you’ll need to double check that you have both a regular foot and a zipper foot.
Sewing Basics: You’ll also need some sewing basics including scissors, pins, a ruler and sewing needles. You should also have thread that matches your chosen fabric.
Zippers: You’ll need a zipper that is approximately three inches shorter than the pillow insert. Bear in mind that you should measure a zipper along the teeth rather than along the tape. You should also look for plastic or nylon coil zippers rather than metal ones as they are easier to sew and smoother.
Now you’ve gathered your supplies, we can start with the steps of this zippered pillow cover tutorial.
 The first step should be to measure your pillow insert and then cut two squares of fabric that are approximately the same size. If you want a firmer, snug look to your pillow, the fabric should be the same size as your pillow, but if you prefer a more loose cover, add a ½ inch seam allowance on all sides.
You may find a quilting ruler, rotary cutter and cutting mat handy to create nice, square pieces, but as long as you have a clean flat surface, you should be able to make decent cuts with a basic ruler and scissors.
Lay your fabric out flat and mark the lines with a fabric pencil or pen. Cut using smooth motions with your scissors. After you cut your fabric, lay it out with the patterned side facing in. You can then work out which edge will be at the bottom. Be sure to double check the direction of the pattern on both pieces, so that they match.
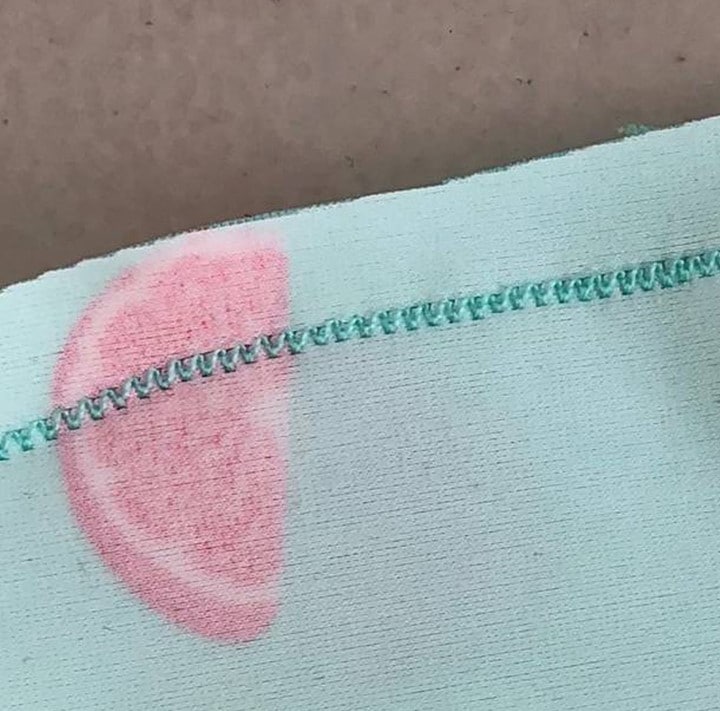
If you are using a fabric prone to fraying, serge one edge of each of your fabric pieces. This will be the section where you will add your zipper.
With the two pieces right side together, place and mark your zipper. Lay your zipper and mark where it starts and stops. Don’t pin the zipper in place yet, but place a couple of pins to mark the fabric.
Use a ruler to ensure that the gap is centered on your pillow. You can then start sewing. Start at the end and sew along to your marks, leaving a ½ inch seam allowance. Ideally, you should use the widest sewing machine stitch. This is often a zig zag stitch, so you can remove this stitch once you put the zipper in place.
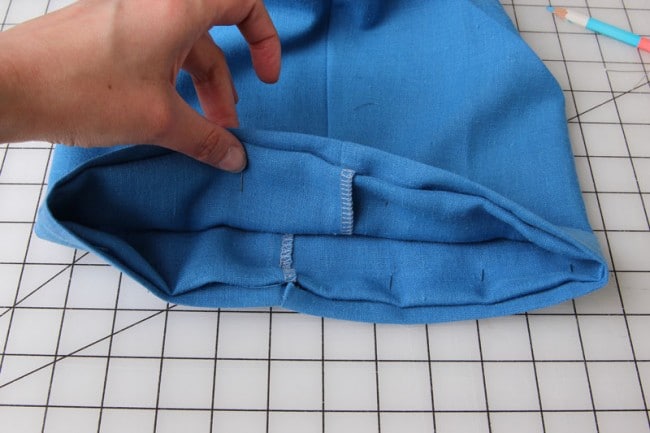
 Now you can press open the seam and insert the zipper. Iron the seam you’ve made and place the zipper on the seam. Double check the zipper still fits between the two marks and it is face down.
If your zip is not the right size, this is the ideal time to swap it out for another. You don’t want to finish sewing and then find there is a loop of zipper tucked into your pillow. You can also shorten your zipper if necessary. Plastic zips are quite easy to shorten or if you plan on making lots of pillows, you could buy zips by the yard and cut them to your exact size requirements.
With the zip the wrong way up, secure it over your basted section. You can do this with pins or even painters tape. You can then move over to your sewing machine.
Place the coils of the zipper centered over the seam directly. Your zip head should point towards the edge of your fabric, so you can move it if you need as you’re working.
If you’re a complete newbie to sewing, you may prefer to hand sew the zip in place, so it is easier to sew.
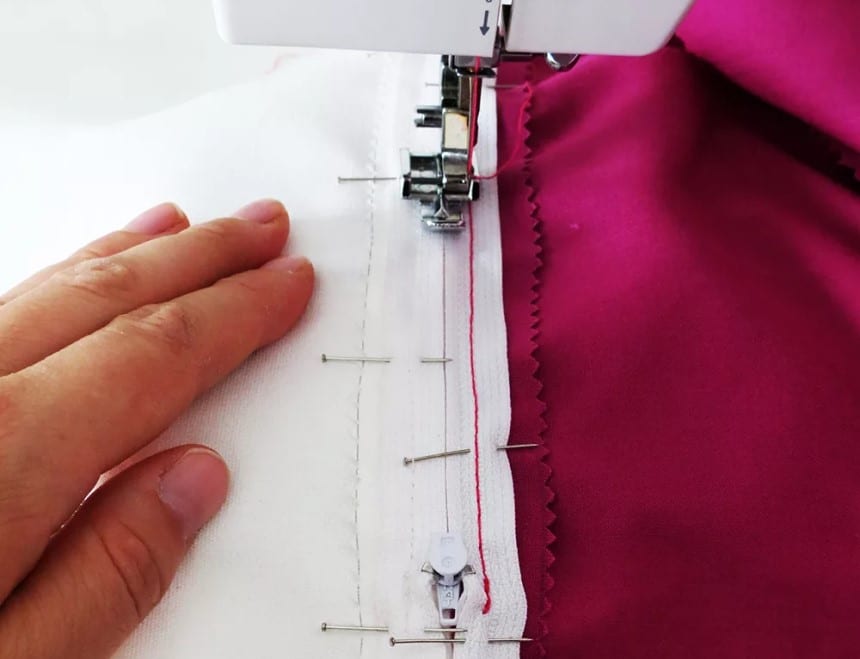
You’ll now need your zipper foot. The zipper foot looks almost like half a regular foot. You should attach it to your machine with the missing bit closest to the zipper.
With your zipper foot on your machine, stitch along the zipper edges all the way to the ends of the fabric. Use a regular straight stitch and try to keep as close as possible to the zipper teeth. As you approach the zipper pull, keep the needle down in the fabric and carefully unzip past your sewing machine foot, you can then continue to the end of the zipper. Be sure to backstitch the end.
You can then now move the zipper back to the end and switch the zipper foot to the other side, so you can sew the other side of your zipper.
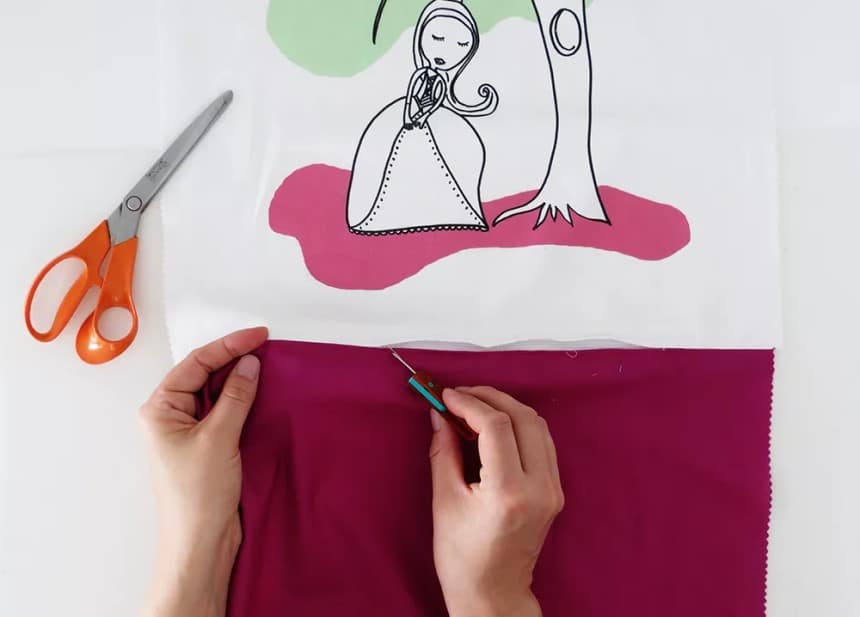
Now flip your cushion cover to the right side. Using a seam ripper, remove the basting stitches that cover the zip. Be sure to stop at your marks and don’t cut your stitching at the ends.
You can then secure the ends of your zipper by stitching across the ends of the zip where the teeth finish.
Fold your fabric with the right sides together and stitch the bottom and sides of your cover using your regular sewing machine foot. This should be an easy step if you have good quality sewing needles like the all-purpose needles by Schmetz. They work with all household sewing machines and are recommended by most sewists.
If your fabric is prone to fraying, you could use a serge or zig zag on the raw edges. This will provide greater durability and create a more professional finish. Just be sure to clip your corners. This involves removing the excess fabric inside the pillow for crisp, clean corners.
You can then turn the cover the right way around and press it. You now know how to put a zipper in a pillow. You’re holding a removable zippered cover that you can use and wash as necessary.
Now you understand the basics of how to make a pillow cover with zipper, you can start to perfect your pillows. Here are some tips to help you achieve a pro look.
Use an Object to Turn Out Your Pillow Corners: Once you’ve finished sewing, use a blunt object such as a thimble or pen cap to turn out the corners of your pillow. This will help to create a crisp look.
Reinforce Your Corners: You can also reinforce your pillow corners by sewing a double row of stitching on each corner.
Match Your Seams: While this may take a little more time and you’ll need extra fabric, if you want a pro style finish, match the fabrics on your seams. When your fabric matches at the side seams and across the back of your pillow, it will look professional.
Choose Good Quality Fabric: While you may not want to break the bank on your first sewing experiments, it is important to choose good quality fabric. A home decor weight fabric or cotton sateen will not only look great, but also be easy to sew. If you prefer to use a quilting cotton fabric, use a featherweight or lightweight interfacing to create a good weight of fabric and a great envelope pillow.
Add Details: To finish your pillow, consider adding some details such as coordinating piping, fringe or trims. You can easily add these to the edges of your pillow cover for an additional layer of detail.
Reduce Your Stitch Length: If you want to avoid your stitches showing at the seams of your pillow cover, reduce your stitch length a little.
Experiment With Curved Corners: Once you have mastered straight edges to your pillow covers, try experimenting with curved corners. As you sew the corners of your cover, mark a point ½ inch from each corner. Draw a line from each of the sides at point to point to reduce the square shape slightly. This will create a new curved pattern with rounded corners.
Be Bold: As you gain your confidence creating pillow covers, try to be a little bold. Look for interesting fabrics, coordinating trips and other details that will make your pillows a conversation starter or bold style piece in your decor.
Pillows can be a great way to alter your home decor. Investing in a new couch or chair can be extremely costly, so you may not want to buy the latest fad in furniture. However, you can use pillows and cushions to ensure your decor is bang on trend. You can save even more money if you learn how to make a pillow cover with zipper.
With these basic tips, you can master sewing skills and create some attractive pillows that will complement your existing decor or add a splash of color to your palate. Once you gain your confidence, you can wow your guests and may even have requests from family and friends to make pillows for their homes.