Do you want to save money on buying clothes? Or perhaps you want to wear a different type of fashion that you don’t typically find in clothing stores. Then perhaps we can show you how to make sewing patterns. Making your own sewing patterns is an excellent way to save money on expensive attire and it’s an ideal hobby too. In today’s article, we’ll be discussing what patternmaking is, what you’ll need to make patterns and the process of how to make your own sewing patterns. Learning this skill is an excellent way to start your own business too, so keep reading to find out more.
 In fashion design, patterns are templates that are used to make various parts of a garment. The template is used to trace the garment parts onto fabric so they can be cut out and sewn together. The pattern is a blueprint or a technical drawing of a piece of clothing.
Patternmaking is when you design your own garments by taking the exact measurements of a person to make clothing that’s tailored for his or her size. These patterns will have the exact measurements of how big each section of a garment must be. It will also include a seam allowance for sewing and other markings to indicate where pockets will be located.
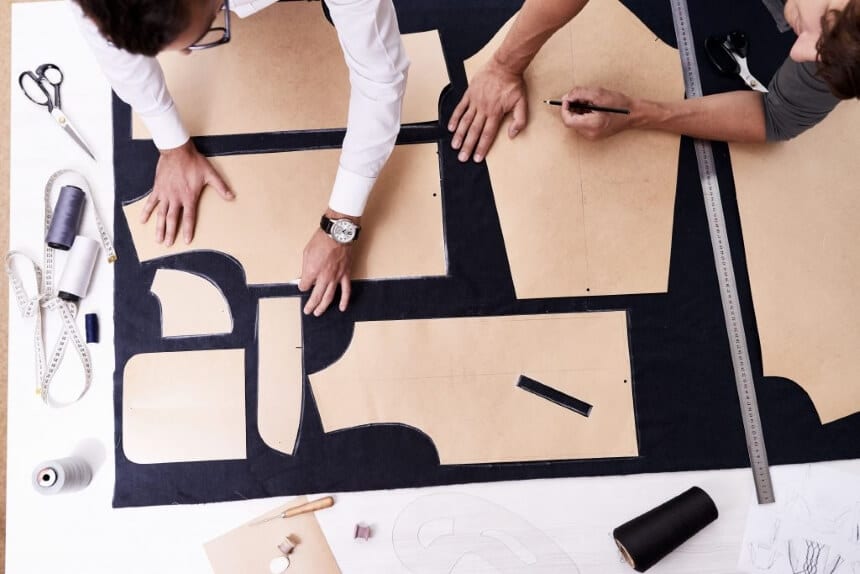
Each segment that will make up the garment will be traced onto pattern paper in precise shapes and sizes needed to make the piece of clothing. These patterns are then pinned to fabric so it can be cut out to the exact shape and size of the pattern. Then the cut-out fabric is sewn together to make the garment.
You can keep patterns so you can make more than one item of clothing with the same design you’ve created.
If you want to learn how to make sewing patterns from scratch then you must learn the key terminologies used to create them. This will help you with research when you want to learn about something new in patternmaking. Additionally, the key terms can help you with the correct information when you search for the terms online to help you make different designs. Here is a list of the key patternmaking terms:
 To start making your own sewing patterns you’re going to need a few tools. You can find patternmaking tools at any fabric shop or arts and crafts store.
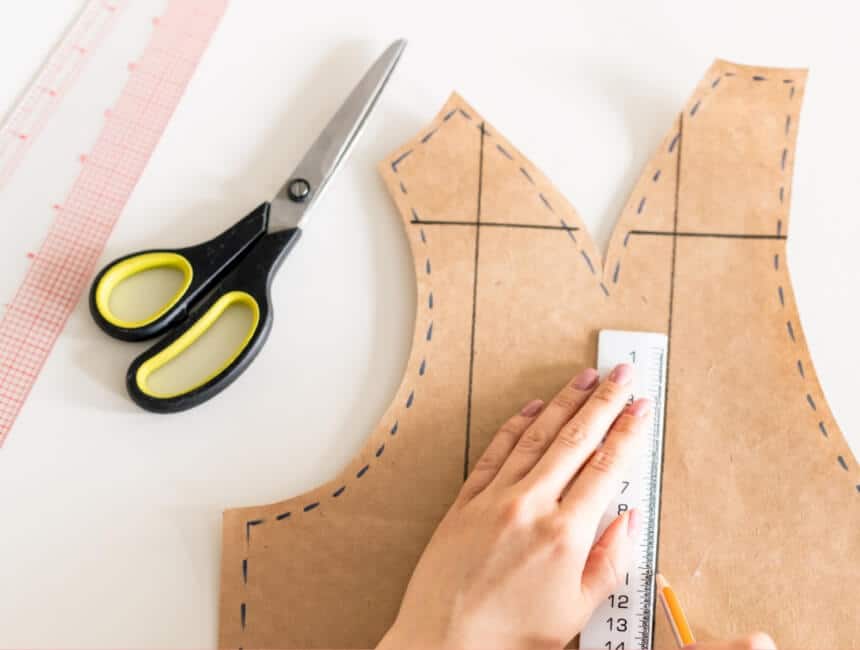
The first tool you’ll need is a rotary cutter. This is a round blade that works similar to a pizza cutter except it’s smaller and sharp enough to cut fabric. Additionally, you can use a pair of fabric scissors but using a rotary cutter is easier.
You’ll also need a mat to work on so that you don’t damage any surfaces. These mats also come with measurements. You’ll need a pencil and a ruler to start drawing your patterns. And lastly, you’ll need pattern paper. You can use any type of paper to make your patterns such as durable canvas or even printing paper.
If you want to know how to make permanent sewing patterns then consider purchasing a pattern book. These pattern books have all the measurements and math you need to make your own patterns. Using durable paper to make permanent patterns is a must. But if you’re simply making a temporary pattern then you can use any type of paper.
There are five methods you can use to make your own patterns. In this section we’ll go through all the methods you can use in patternmaking. Pick the method that will work best for you when drafting your own patterns.
 If you want to make clothes for yourself then you must start by taking your own measurements. Taking your measurements will help you create accurate patterns that fit perfectly to your body’s shape and size. Use a soft measuring tape to measure the following areas of your body and write the figures down:
After you’ve written down your measurements you can start designing your garment on paper. Draw how you want your garment to look so you can see how to divide the garment into segments.
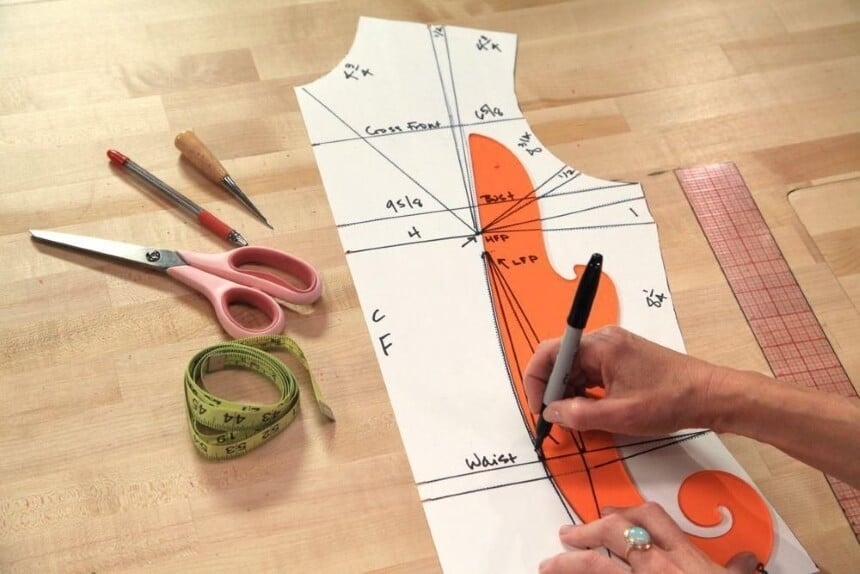
Place your pattern paper on a flat surface and using your ruler measure 2 inches from the top of your paper down. From this point, you can start creating your pattern using your own measurements. Dresses, skirts, collar shirts and pants will be drafted differently based on your design. But as long as you have your measurements you can create any type of pattern.
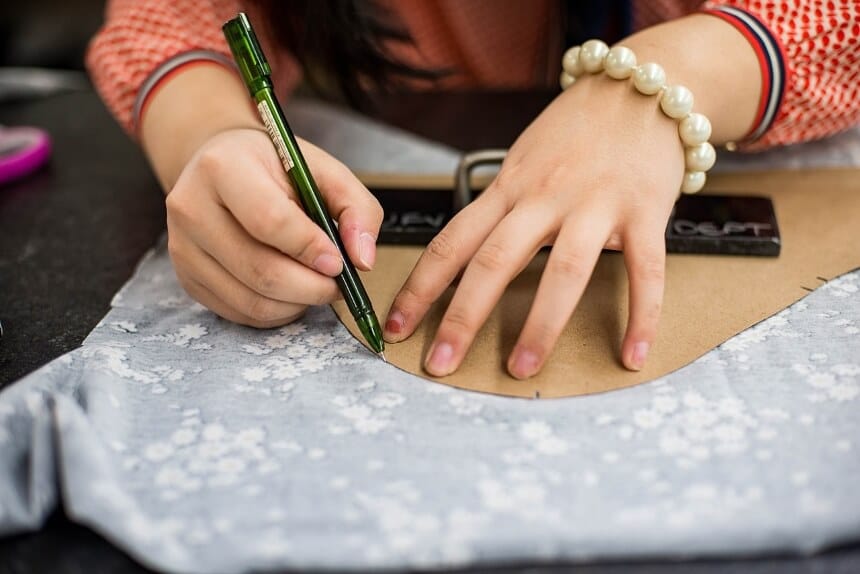
Some people use their existing clothes to make templates and to make garments that fit well. Pick an item of clothing that you like. Then place the garment on paper and trace around the different sections. Make sure to true up these sections so that the seams align and to make it easier to sew them together.
Once you’ve traced your segments onto your pattern paper you can cut them out and pin them to your fabric. Then cut the sections from your fabric and sew the correct pieces together to recreate your garment.
When you use existing clothing to make templates you’re making a replica of the item you already have. This way you can make multiple garments with the same design and measurements. If you want you can alter the measurements to make various sizes.
The advantage is that you can recreate your favorite garment using different colors, designs and fabrics.
Some people only use part of a garment to make a template for necklines or sleeves. For example, if you like the sweetheart neckline of a shirt you have you can use this same design to make a similar neckline for a dress. You can be creative with the templates you make so you can make unique clothing that you don’t typically find in clothing stores.
 If you want more accurate measurements when making your own patterns with existing clothing then the best method is to deconstruct the garment. It’s recommended that you use an existing piece of clothing that you no longer wear because you’ll be taking it apart at the seams. Use a picking tool to carefully remove the stitches from the garment.
Once the existing garment has been deconstructed you’ll have your pieces to create a pattern. Take all the sections and pin them to your pattern paper. Then cut the sections out carefully and make your markings on your patterns such as seam allowance and any lines you need to include.
This method does take time but if you want to know how to make sewing patterns for beginners this is the ideal way to do it.
Commercial patterns are full-scale clothing patterns used to create garments for home or for clothing stores. It consists of the pattern envelope, guide sheet and pattern and it may contain multiple sizes and styles. But if you’re making clothes to sell, you can’t use a commercial pattern because you’ll be stealing the designs of the original creator.
So the best way is to alter the commercial pattern so you can make an original garment. First, use the measurements you want when modifying your pattern. Additionally, you can add linings and facing where you want or other detailing to your pattern. Using a sloper is the easiest way to modify existing patterns to the sizes and shapes you want.
Draping is the most accurate way to make clothes that fit perfectly to the contours of your body. It’s a method used to make a three-dimensional dress pattern by placing and pinning the fabric to a figure (dress mannequin). First, you must prep your mannequin by marking important seams and points to create a guideline for your fabric. You can use style tape to make your markings. Then take a piece of your fabric and drape it over a dress mannequin to start making your pattern. You can make folds and pin them in place to make the shapes you want.
The draping method is an easier way to make unique pleats and shapes to garments. Once you have the structure you want, you can remove the fabric from your dress mannequin to start cutting and sewing your pattern.
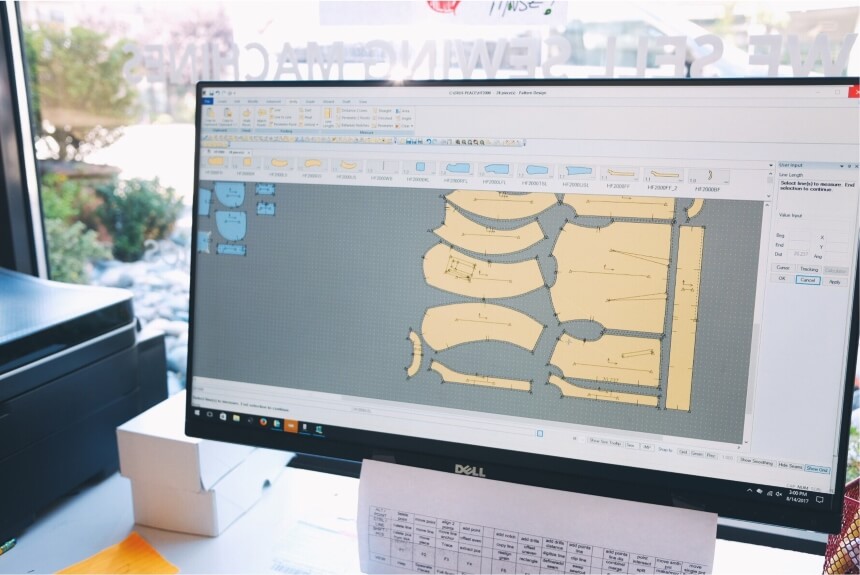 Knowing how to make digital sewing patterns is an excellent skill to have and it’s the easiest technique too. Digital patternmaking saves you time especially if you want to make multiple patterns with the same design. You can simply copy and paste your pattern if you want to print more than one design. This method is also ideal if you want to know how to make patterns for sewing different sizes.
There are various online platforms you can use to create your digital pattern. But the most popular online platform to use is Adobe Illustrator. There are patternmaking templates that you can download onto Illustrator so you can have access to measurement scales. What’s more, there are rulers, guides and grids to help you plot your drawings.
You can set your document to use centimeters or inches. When you draw a line you can see the exact measurement of it when you include a line length indicator. In Illustrator, you can create curved rulers for armholes and necklines. Use the scale or blend tools to increase or decrease the grade of your digital pattern.
Illustrator has a function called offset path that’s used to create seam allowance.
There are two methods you can use to create your digital pattern in Illustrator. You can draw a rough sketch of your pattern on paper or use a commercial pattern to scan to your computer. Then you can alter the design or measurements of the pattern.
The second method is simply drawing your digital pattern from scratch onto the program. This is the easiest method for creating digital patterns.
Create patterns in various shapes and designs on your computer and make notes on the side. Furthermore, you can add other details to the page such as what fabric you want it to be made out of and any extra details you want to add to your notes. The advantage of digital pattern making is that you can have hundreds of designs saved on your computer. Whenever you want to use one of your patterns you can simply print it out to start creating your garment. It’s an excellent paper and storage-saving method.
Another advantage is that you can share your patterns with anyone online. So if you want to design your own garment but you don’t want to make it you can send your patterns to a tailor. Let your tailor know what fabrics and extra features you want added by typing notes on your digital file. It will make the process easier.
So which method are you going to pick to make your own sewing patterns? For beginners using Illustrator or deconstructing an existing garment is the easiest method for making your own patterns. As you get better at making your own patterns you can start using the draping technique to create unique designs. The draping method is perfect for dresses and skirts. Or you can make your own designs from scratch. Practice makes perfect so you may struggle to get measurements and truing correct on the first try. Use the methods mentioned in our article on how to make sewing patterns so you can practice different techniques. The more patterns you make the better you’ll get at it. So what type of garment do you plan to make first?