You don’t have to chop money every time you feel your space needs a cozy spruce up with pillows. Learning how to sew a pillowcase is a huge plus to your sewing skills as it not only helps you save a lot but also allows you to have everything up to your tastes and preferences. For a beginner sewist, it is an excellent way of getting comfortable with your machine and practicing foundational sewing skills like measuring, pinning and squaring up fabric.
This guide has useful information and guidelines on how to sew a pillowcase in different ways. Once you have gathered all the tools and materials needed, the directions will help you sew any kind of pillowcase you want, from a standard one with an inner flap, to a more complicated decorative one with French seams.
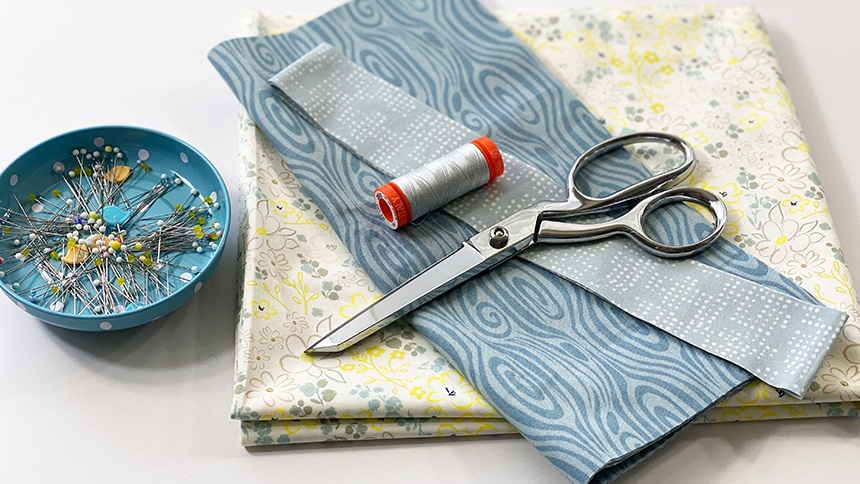
Some of the essential supplies you will need to sew any type of pillowcase are:
If you are seriously into sewing, you can invest in a fabric cutting table for added convenience. The Sullivans 38431 Home Hobby Adjustable Height Foldable Table is one such popular table. It is a famous go-to for most hobbyists and sewists because it is specially designed for fabric cutting.
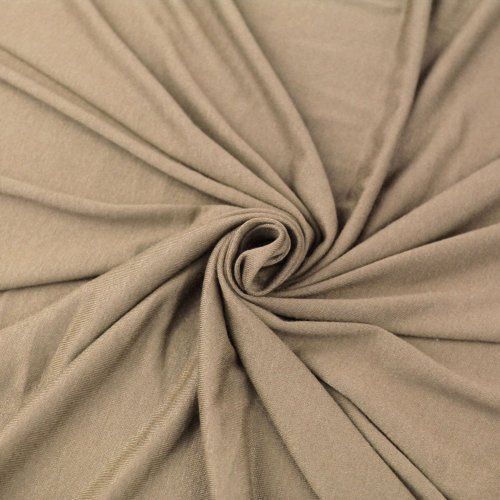
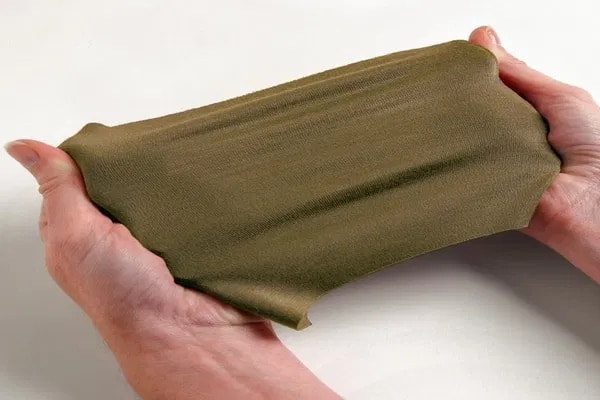
Also, cotton is just the popular fabric used to make pillowcases. You can use other light to medium weight non-stretch fabrics that are smooth like cotton-polyester blends. For a standard pillowcase, you need just a yard of fabric but you can always buy more in case of shrinkage.
Sewing a simple pillowcase by hand is pretty much similar to using a sewing machine, only it takes longer. It is an inexpensive option, especially if you don’t own a sewing machine as you would only use a needle and thread to sew. It is also easy; anyone can learn how to hand stitch.
Here are simple steps on how to make a simple pillowcase by hand;
Gather the tools and materials. Pick the right fabric that matches your décor theme then get it in the appropriate size according to your pillow. Get thread that matches the color of the fabric, a needle and straight pins.
Cut the fabric. Use a pair of scissors or rotary cutter to cut the fabric to the size of your pillow. If your fabric is patterned, ensure it is straight when you are done.
Fold the fabric. Fold the fabric in half, with all its finished sides facing each other. The unfinished sides should be outside.
Pin the sides of the folded fabric. Be sure to leave the bottom edge open through which you will insert the pillow. Start pinning at least 2 inches from the bottom corner on both sides.
Sew. Thread your needle then start hand stitching from the first pin at the bottom corner. Push the needle through both layers of the fabric then move it at least 1.8 inches before pushing it back through. Repeat the process until you work your way around the entire pillow.
When you are done sewing the sides of the pillow, push your needle through the fabric at the end then pull the thread gently leaving a small loop. Pull back the needle and thread through the loop tightly then cut off the thread.
Turn the fabric right side out then reach in and push out the bottom 2 corners before inserting the pillow.
An envelope style pillow is a prime example of a pillow case with an inner flap that hides the pillow insert. You can make it without a serger machine and the entire process will take about 15 to 45 minutes. Here is a step by step guide on how to sew a pillowcase with inner flap:
Prepare your fabric. After you have selected the fabric of your choice pre-wash it and dry before cutting to get shrinkage out the way.
Cut the fabric. Use a pair of scissors or rotary cutter to cut the fabric. Cut 2 rectangles that will make the front piece and the back piece according to the size of your pillow. Ensure the front piece is longer because it includes the inner flap.
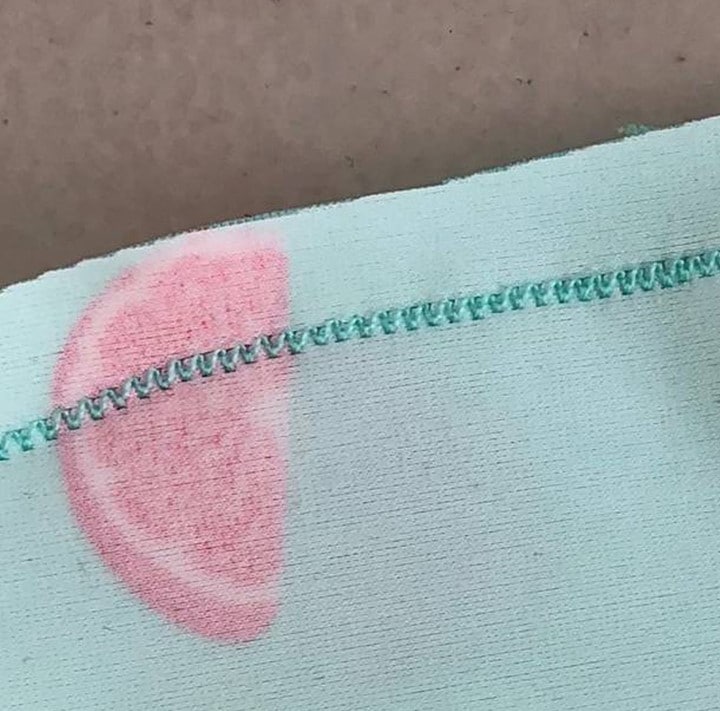
Sew the pieces. With the right sides of the fabric facing each other, pin the front and back pieces together on one short side. Sew the short side leaving a 1cm seam allowance. The result should be one long rectangle. If you have a serger machine, you can finish the seam to avoid fraying, if not, you can use the zigzag stitch on your basic sewing machine.
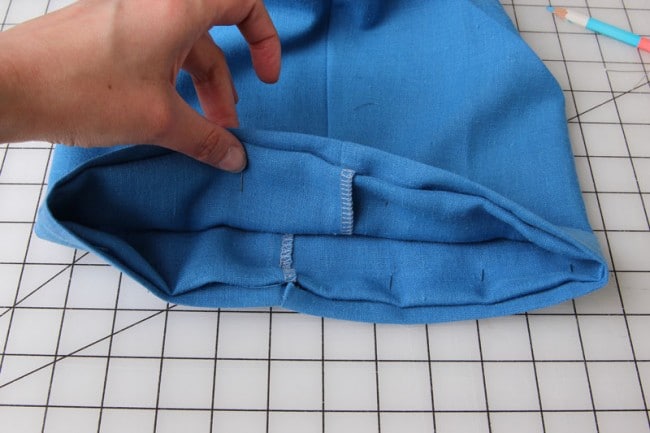
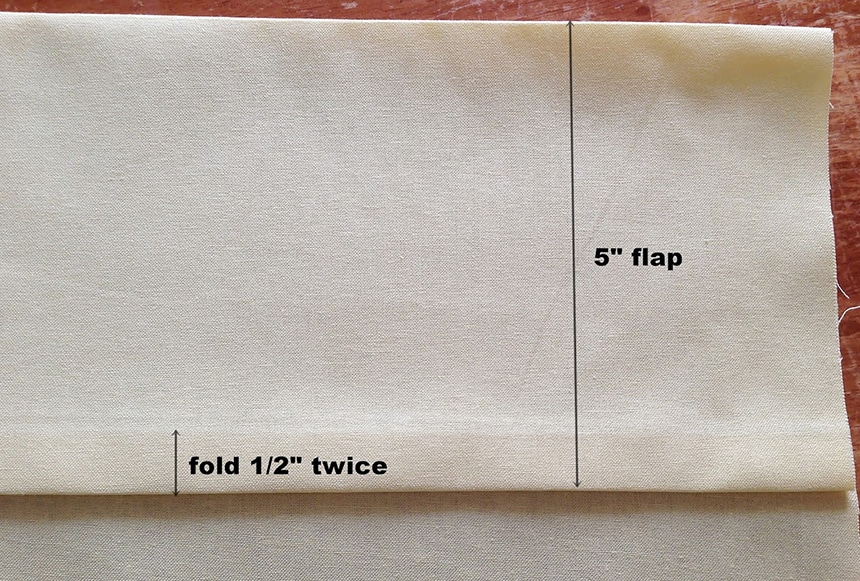
Finish the other short raw edges. With the wrong side facing up, fold one short edge twice; first by 0.6cm then by 1cm. Iron then pin the fold in place. This should hide the raw edge. Do the same for the other short edge then sew them separately to have neat finished edges.
Sew the long sides together. First off measure the length of the shorter rectangle (back piece) on the longer rectangle (front piece) then pin it. Bring the back piece to the pinned area then fold the flap over everything. Ensure the wrong side of the fabric is facing up.
Sew the edge leaving a seam allowance of 1cm then repeat the process for the other side. If you have a serger machine, you can finish the raw edges to prevent fraying. If not, use the zigzag stitch on your basic machine.
Turn the pillow case inside out to hide all the finished seams inside then insert your pillow.
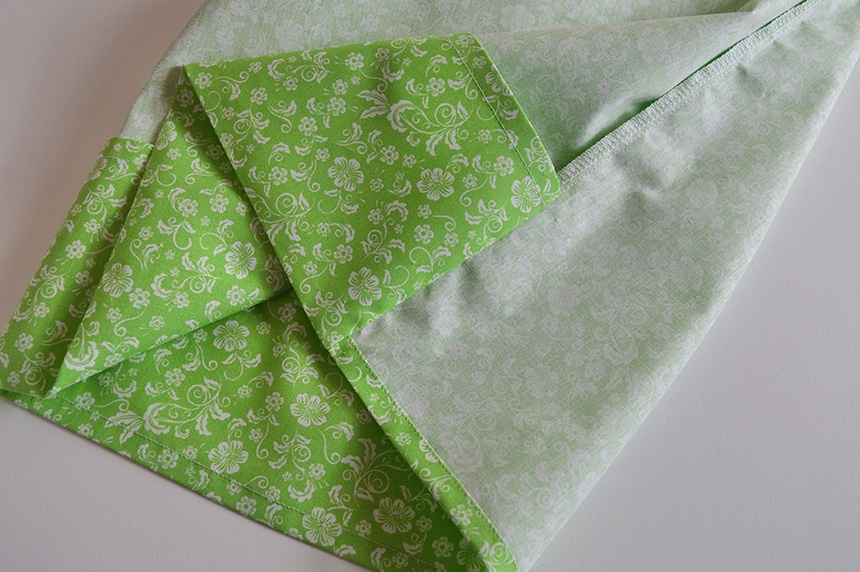
Sewing a pillow case with French seams is the only way to make neat pillow cases, especially if you only have a basic sewing machine. The French seam technique creates hidden seams with an inner flap that prevents your pillow inserts from falling out.
Here is a clear step by step guide on how to sew a pillowcase with French seams;
The first important thing to do is pre-wash and dry your fabric of choice. This helps prevent future shrinkage.
Cut the fabric according to the size of your pillow. Cut 2 rectangular pieces; the front piece and the back piece. The front piece should be longer because it consists of the inner flap.
Hem the short edges. With the wrong side up, fold the edges twice, first by 0.6cm then by 1cm. Pin the fold to hide the raw edges then sew them separately a 1/8-inch away.
Sew the 3 sides of the pillowcase and the flap. Place the front piece and the back piece of the fabric on top of each other with the wrong sides facing each other. The extra fabric is the inner flap. Fold it in between the front piece and the back piece. Pin all the layers together then sew the three sides. Leave a seam allowance of about ¼-inch.
No stitching should be done on the side with the inner flap. It should be left open.
Use a pair of scissors to trim down the seam allowance for a neater finish before turning the pillowcase inside out. Turn the flap to the other side to close the open side temporarily.
Pin and sew the 3 sides like before, leaving an allowance of 3/8 inches. Do not stitch the side with the flap. When done, your raw edges should be hidden and your French seam pretty much done.
Turn the pillow inside out again. All the seams should be hidden inside by now. Iron it so that all its edges are crisp.
With the right technique, sewing a pillowcase should be a breeze for anyone, whether they own a sewing machine or not. We have provided great hacks and tips on how to sew a pillowcase. The information is relevant for both beginners and advanced learners. Sewing pillowcases has always been the starting point for beginner sewists. It is a way of learning and practicing foundational sewing skills.
You can learn to sew with your hands, but if you get lost in the craft, you might be forced to invest in a basic or intermediate sewing machine. Once you master how to make a simple pillow case, you can advance to making decorative ones with different types of fabrics. It is fun and exciting to pick different fabrics that suit your décor theme. You can also go commercial or make gifts for your family and friends.