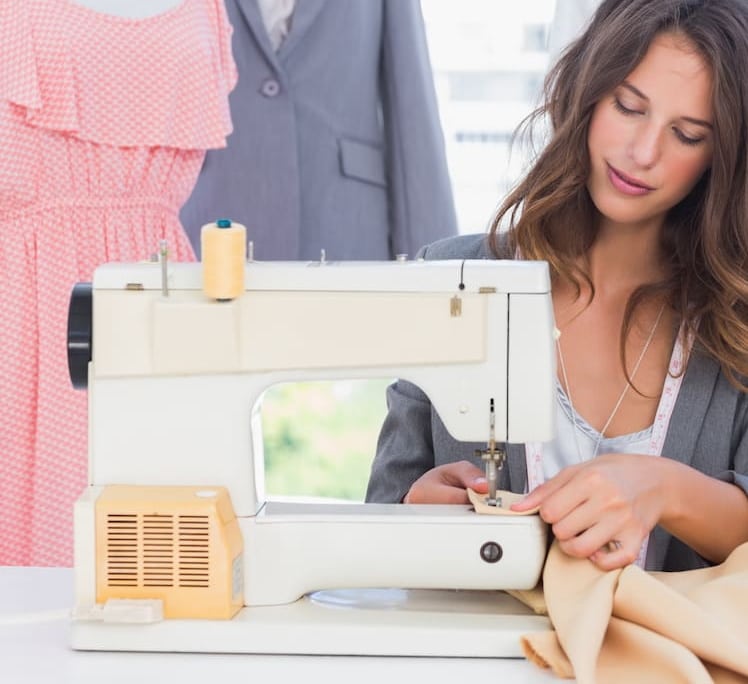
Hand sewing is a useful skill, but it’s simply not capable of producing uniform and strong stitches that you can achieve with a sewing machine. However, when you have a machine sewn seam, the first and the last stitches are always the weakest points. For this reason, many sewers protect these weaker stitches with a reverse stitch. Many sewing machines have a reverse lever or button to stitch in the opposite direction. But, some sewers don’t have this functionality, and a good alternative is a lock stitch to make the start and end of the seam more secure.
The humble lock stitch is a very basic stitch found on every sewing machine. When the sewer makes a series of single stitches, the threads at the top and bottom lock together to make them more secure in the fabric. In fact, if you’ve ever sewn a straight stitch on your sewing machine, you’re probably using a lock stitch already. A lock stitch will secure the seams and ensure that they don’t unravel later.
Even basic sewing machine models can create a simple lock stitch to secure those seam ends tightly. There are three main lock stitch types, and we have detailed them here in ascending order with true lock stitching as the strongest.
A tying stitch is achieved by sewing the seam up to the end, and then the sewer ties the two ends together at the seam edge. If you need to place a lock stitch away from the ends of the fabric, this can be achieved easily. Stop the stitching where you need to lock stitch, then turn over the fabric, pull the stitch through, and then tie the two ends together.
This is a reversed straight stitch that provides extra security for the ends of your seams. This can be achieved by sewing to the end of your seam, then reverse a few stitches by hand or machine if you have a reverse function. A few forward and reverse stitches at each end of the seam will make the seam more secure.
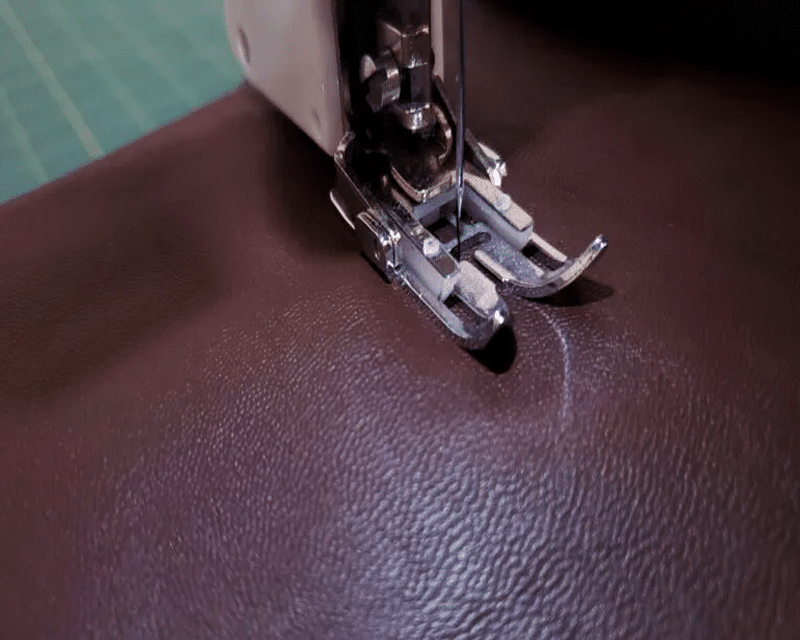
There are sewing machines that have dedicated a lock stitch function to secure the seams in place. This is true lock stitching, and it’s the strongest locking stitch available. When you look at a true lock stitch, you can see tiny knots of thread that are positioned along the entire seam. If you’ve ever wondered how to lock stitches when quilting, this is a better alternative to backstitching, which can look ugly on the top side of the fabric.
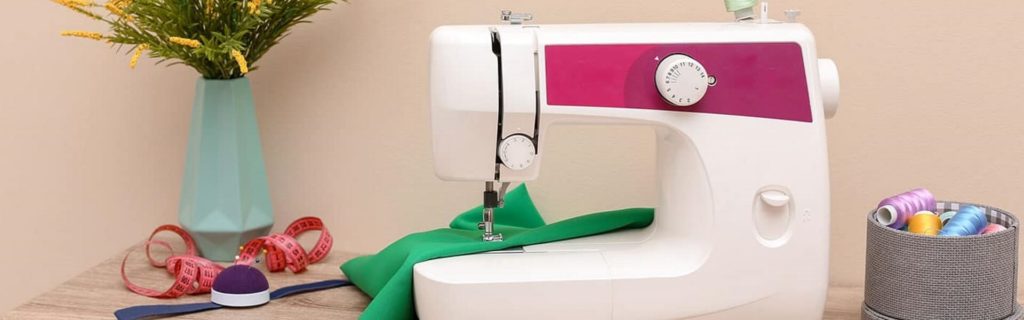
If you have a built-in lock stitch, the machine will sew a set number of stitches and stop automatically. This is a common option on some new electronic sewing machine models. This is a very useful function on sheer fabrics, quilts, and any other fabric that has sweeping bundles of material.
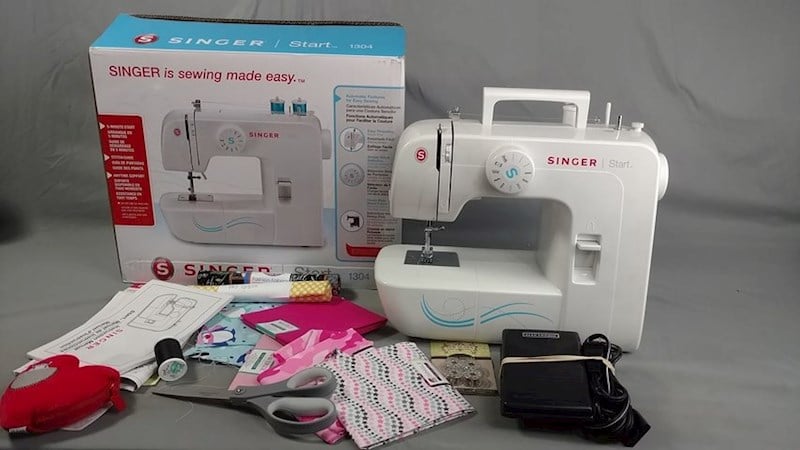
The owner’s manual is the first place to look to determine if your sewing machine has a true lock stitch function. If you’re sewing machine can perform a lock stitch, it will sew a straight stitch forwards and backward with no need to repeat stitches.
If you’re sewing machine doesn’t have a dedicated lock stitch feature, you can achieve similar results. Simply make the stitch length as short as you can and sew 2-4 stitches at the desired lock stitch point. This is not a great option; you will create a thread knot, and the sewing machine may jam.
Another lock stitch option is to stop the stitching with a thread tail remaining. Then you can pull one of the tails to the rear side and tie a knot by hand securing fabric to the thread tails.
Now you know how to lock stitches on a non-reverse sewing machine. Dedicated sewers and quilters will want to invest in a machine that has a dedicated lock stitch function to keep those seams secure. Creating a lock stitch by hand takes time, and the results are not as effective as a lock stitch that you can make on a sewing machine.